(基于 Flask) 本地部署 InSPyReNet深度学习模型+ 影刀 RPA 自动化批量图片处理 收藏
收藏
评论
收藏(基于 Flask) 本地部署 InSPyReNet深度学习模型+ 影刀 RPA 自动化批量图片处理

卜辞
2026-01-26 17:38·浏览量:1096卜辞
 影刀高级开发者发布于 2026-01-08 22:05更新于 2026-01-26 17:381096浏览
为什么做这个:最近在做某某平台上架流程,非常不同于其他平台的是所有sku图片都要是白底图。
效果图
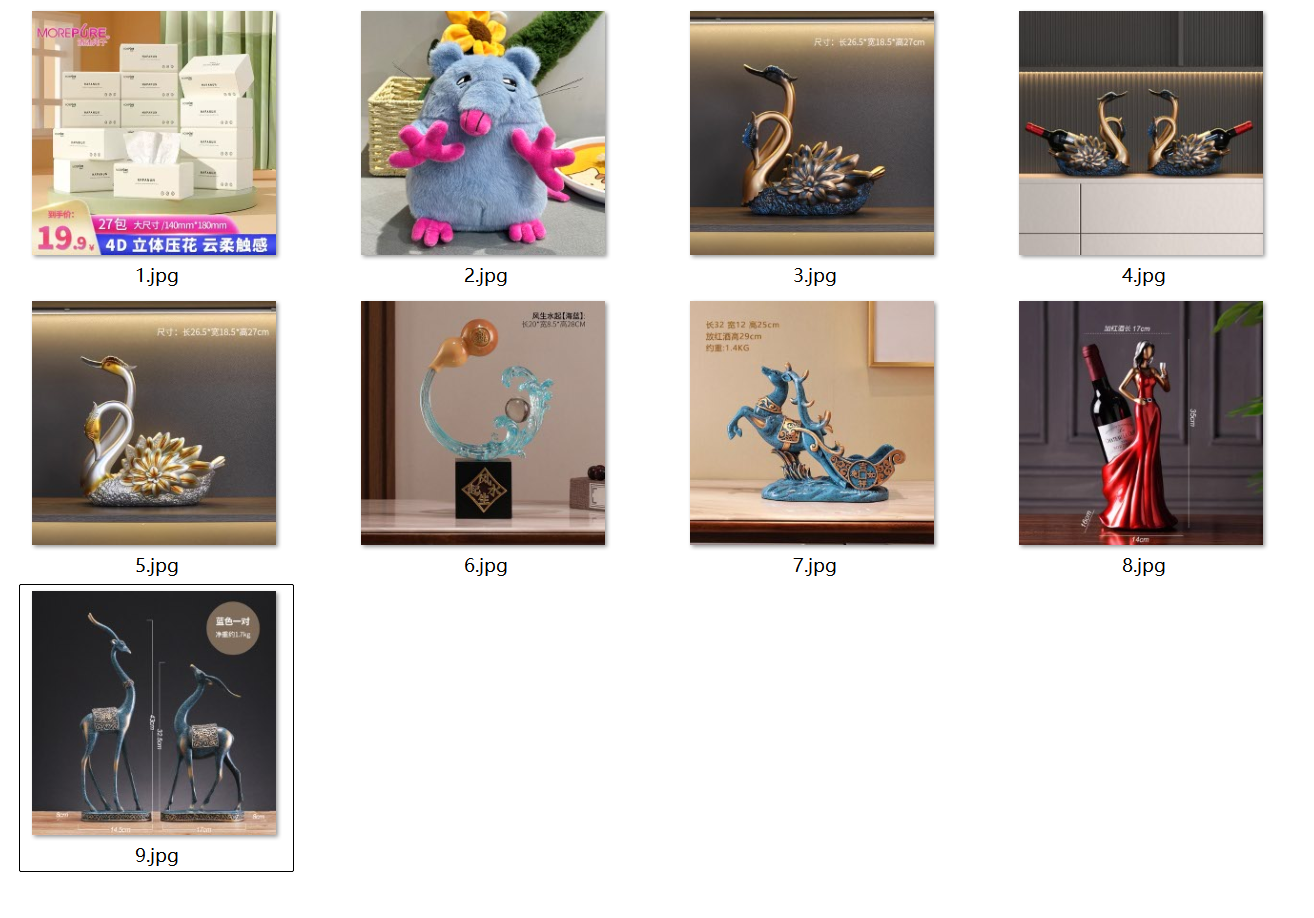
效果这样还可以吧(效率1秒1张 )

以下为怎么使用影刀RPA来实现批量抠图
优点:完全离线 免费 高精度批量处理 白底/透明底可选 错误容错
适用场景:电商商品图批量换白底(得物、淘宝、京东、拼多多)证件照自动抠图
注:本方法源于 https://github.com/plemeri/transparent-background (魔法打开)
(基于 Flask) 本地部署 InSPyReNet深度学习模型+ 影刀 RPA 自动化批量图片处理
| 项目 | 要求 |
| 操作系统 | Windows 10/11 64位(家庭版/专业版均可) |
| CPU | Intel i5 / AMD Ryzen 5 及以上(建议 4 核以上) |
| 内存 | ≥8GB(CPU 模式下模型加载约占用 3~4GB) |
| 显卡 | 非必需。有 NVIDIA GPU(GTX 1060+)可提速 3~5 倍(需 CUDA 11.8) |
| 磁盘 | ≥5GB 可用空间(含 Python、PyTorch、模型缓存) |
1.安装 Python(推荐版本3.9-3.11)
#验证是否安装成功
python --version
pip --version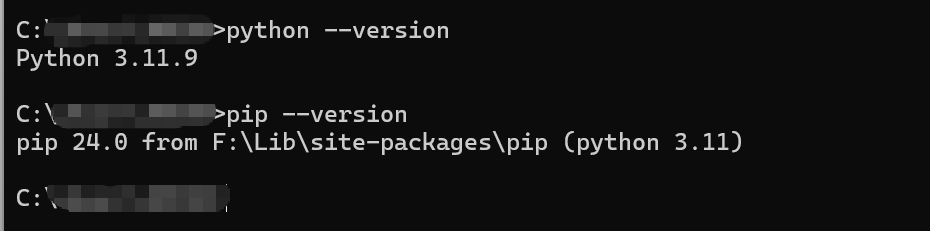
2.创建项目环境(标准化路径)
mkdir C:\bg-remover (地址随意)
cd C:\bg-remover
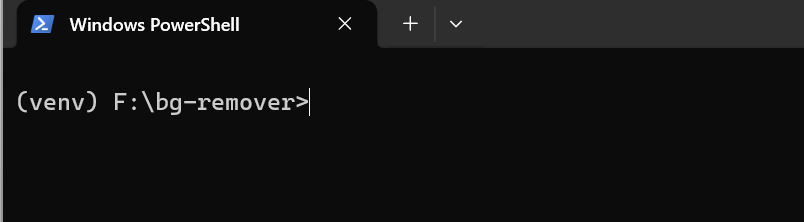
py -m venv venv 激活虚拟环境
venv\Scripts\activate激活后如图以下操作均在该窗口进行
3.安装依赖升级 注:pip到最新版(≥24.0)
3.1 安装 PyTorch(CPU 稳定版)
pip install torch torchvision torchaudio --index-url https://download.pytorch.org/whl/cpu -i https://pypi.tuna.tsinghua.edu.cn/simple验证安装
python -c "import torch; print(torch.__version__); print('CUDA:', torch.cuda.is_available())"输入后应该输出为

3.2安装 transparent-background(通过 Git)
pip install "git+https://github.com/plemeri/transparent-background.git" -i https://pypi.tuna.tsinghua.edu.cn/simple3.3 安装 Flask 和工具包
pip install flask pillow requests -i https://pypi.tuna.tsinghua.edu.cn/simple#验证安装是否成功
python -c "from transparent_background import Remover; print('安装成功!')"4.在创建虚拟环境中创建api.py文件
# F:\bg-remover\api.py
import os
import logging
from flask import Flask, request, send_file, jsonify
from transparent_background import Remover
from PIL import Image
import io

logging.basicConfig(
    level=logging.INFO,
    format='%(asctime)s - %(levelname)s - %(message)s',
    handlers=[logging.FileHandler("api.log", encoding='utf-8'), logging.StreamHandler()]
)

app = Flask(__name__)

print("正在加载 InSPyReNet 模型(首次启动需 20~60 秒)...")
remover = Remover(mode='fast')  # 可选: 'fast'(快), 'base'(更准但慢)
print("模型加载完成!API 已就绪。")

@app.route('/remove-bg', methods=['POST'])
def remove_bg():
    if 'image' not in request.files:
        return jsonify({"error": "未上传图片"}), 400

    file = request.files['image']
    if not file.filename.lower().endswith(('.png', '.jpg', '.jpeg')):
        return jsonify({"error": "仅支持 JPG/PNG"}), 400

    try:
        img = Image.open(file.stream).convert('RGB')
        out = remover.process(img, type='white')  # 白底;改 'rgba' 得透明底

        buf = io.BytesIO()
        out.save(buf, format='PNG')
        buf.seek(0)
        return send_file(buf, mimetype='image/png')
    except Exception as e:
        logging.error(f"处理失败: {str(e)}")
        return jsonify({"error": str(e)}), 500

if __name__ == '__main__':
app.run(host='127.0.0.1', port=8000, debug=False, threaded=True)5.启动api(启动完后,不要关闭这个窗口!!!!)
#输入
python api.py
6.打开影刀创建流程进行调用。
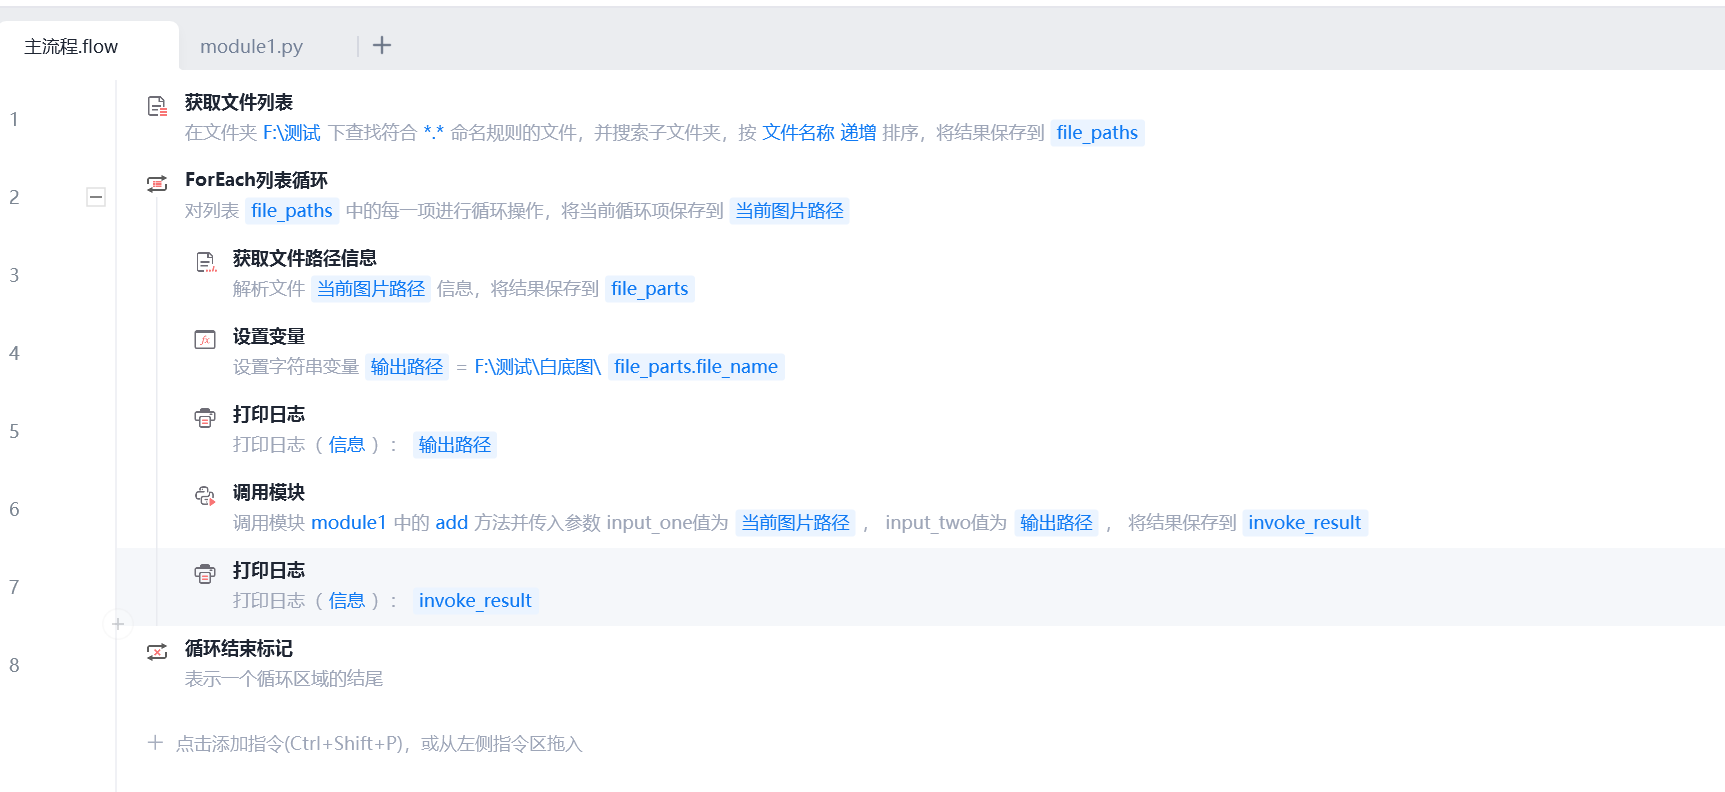
# module1
# 使用提醒:
# 1. xbot包提供软件自动化、数据表格、Excel、日志、AI等功能
# 2. package包提供访问当前应用数据的功能,如获取元素、访问全局变量、获取资源文件等功能
# 3. 当此模块作为流程独立运行时执行main函数
# 4. 可视化流程中可以通过"调用模块"的指令使用此模块
import xbot
from xbot import print, sleep
from .import package
from .package import variables as glv
import os
import requests
def add(input_one, input_two):
# 检查路径是否为空
if not input_one or not input_two:
print("❌ 错误:输入路径或输出路径为空!")
print(f" 输入路径: '{input_one}'")
print(f" 输出路径: '{input_two}'")
return False, "路径为空"
# 检查输入文件是否存在
if not os.path.exists(input_one):
print(f"❌ 输入文件不存在: {input_one}")
return False, "输入文件不存在"
# 确保输出目录存在(现在 input_two 肯定非空)
output_dir = os.path.dirname(input_two)
if output_dir: # 防止只有文件名(如 "result.png")
os.makedirs(output_dir, exist_ok=True)
try:
with open(input_one, 'rb') as f:
resp = requests.post("http://127.0.0.1:8000/remove-bg", files={"image": f}, timeout=60)
if resp.status_code == 200:
with open(input_two, 'wb') as out:
out.write(resp.content)
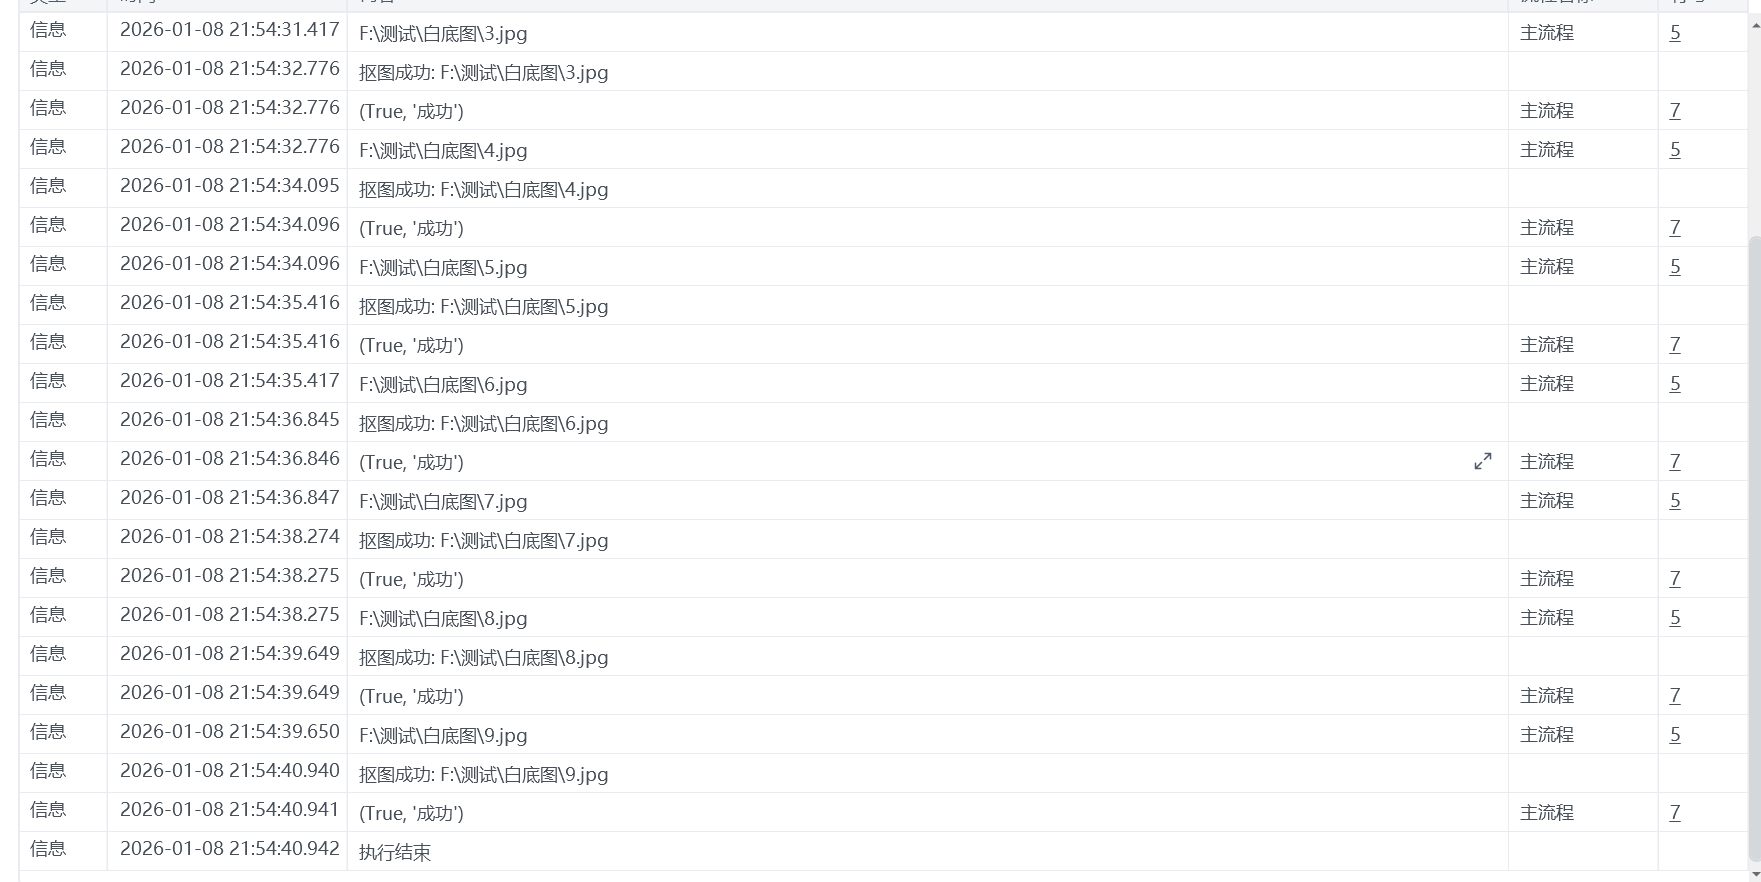
print(f"抠图成功: {input_two}")
return True, "成功"
else:
msg = f"API错误 {resp.status_code}: {resp.text}"
print(f"❌ {msg}")
return False, msg
except Exception as e:
msg = str(e)
print(f"异常: {msg}")
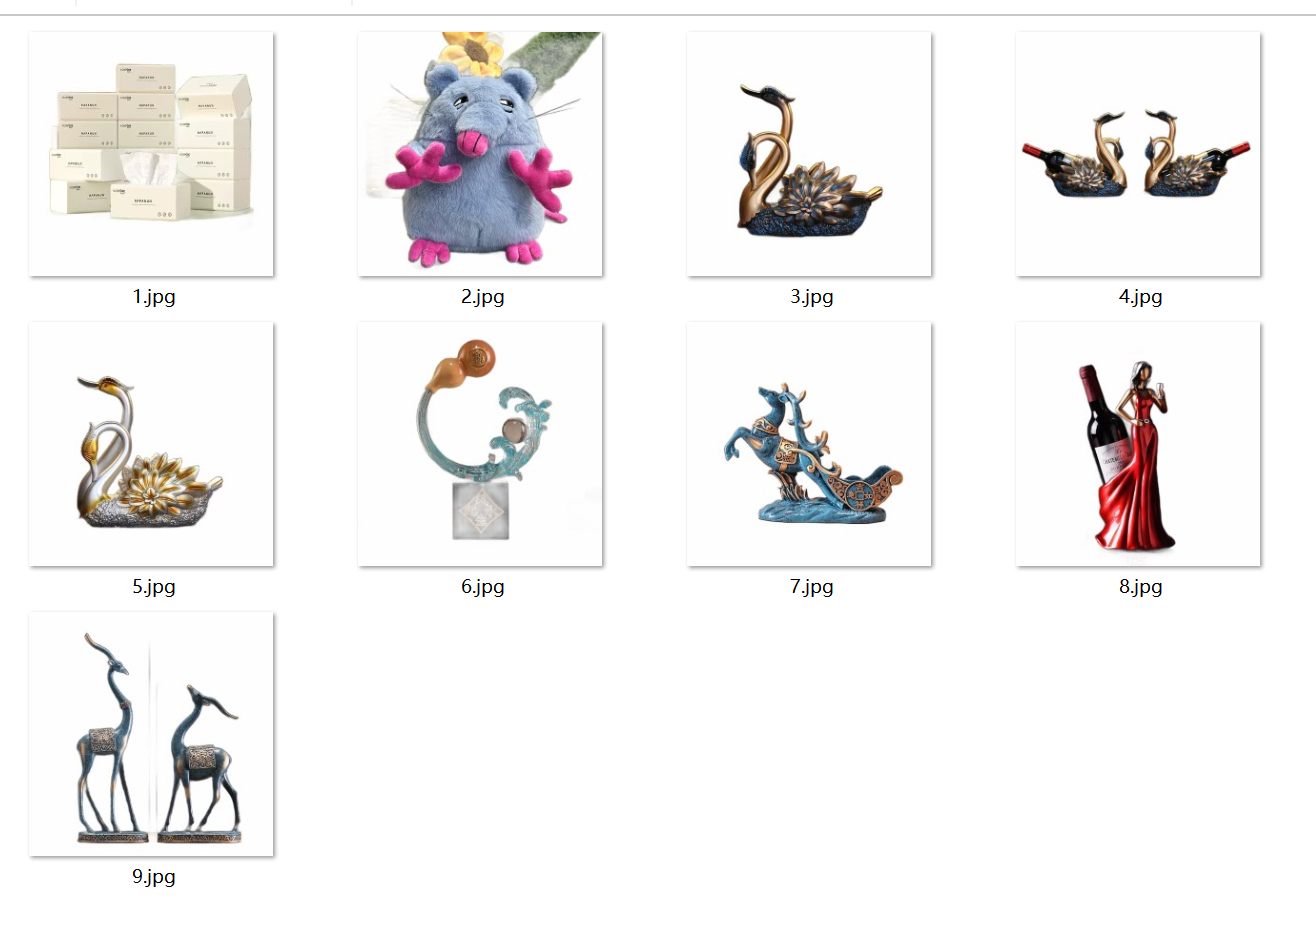
return False, msg最后就可以达到这样的效果了
希望可以帮助到大家,祝大家一次就可以成功!!!!!!!!!
内力有限,如果其中有什么不足和不对的地方,欢迎各位大佬前来指教。
注:其中测试图片来源网络,若有侵权联系我,我会光速删除。
收藏29全部评论(1)
最新
发布评论
评论


